Setting up a MySQL Database for GlobiFlow
Stop using Podio as a general database. If you need to deal with large amounts of data that you will never interact with on a daily basis, use a dedicated database instead. Just because you CAN use Podio for this, does not mean you SHOULD.
Huge data sets in Podio can slow down the system for everyone, and when you need to query your data, it’s really slow. On the other hand, you can get a dedicated MySQL server starting from $5/month and performing queries on your data there is nearly instant.
With a little help from ProcFu, you can work with your MySQL database using GlobiFlow in a super-simple way.
In this post, we’re going to show you the minimum steps to get a database for use within GF by leasing a $5 Digital Ocean droplet.
Get a Database Server
If you don’t have a Digital Ocean account, get one at digitalocean.com:
Next log into your Digital Ocean dashboard and create a new Droplet.
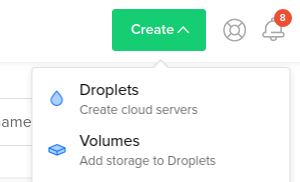
From the Create Droplets screen, select “Marketplace”

And from the Marketplace listing, select “MySQL”

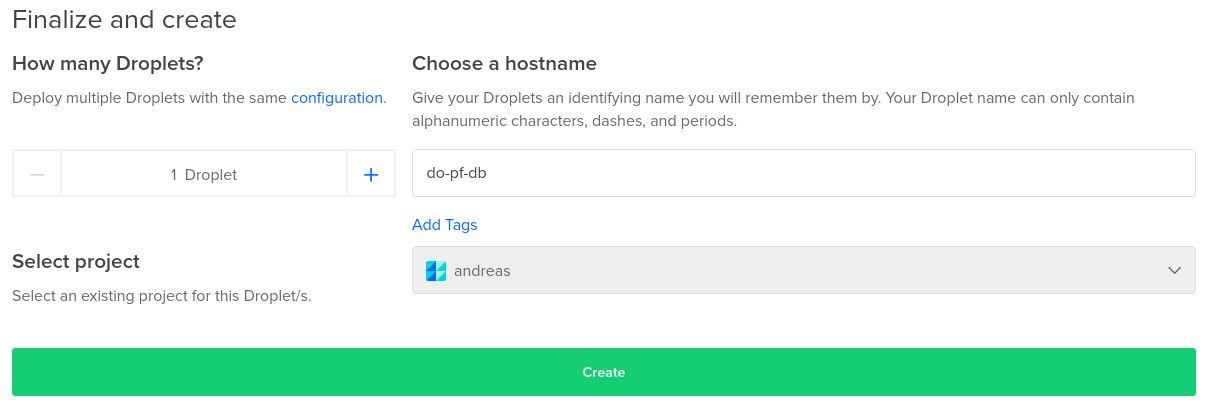
Next, choose the plan and droplet size. If you’re just getting started, the $5 droplet will be ample

Choose your data center and backups if you want (good idea), and finally name your droplet and click on “Create”
Once the droplet is created, you will receive an email with the IP address and root password. Save this in a safe place.
Next, ssh into your new droplet using the IP and password
ssh root@IPADDRESS

You will be prompted to change your root password, so go ahead and do that now
To get your mysql passwords, use
cat /root/.digitalocean_password

Create a Database
Using your droplet’s IP address, go to phpMyAdmin by navigating to http://IPADRESS/phpmyadmin
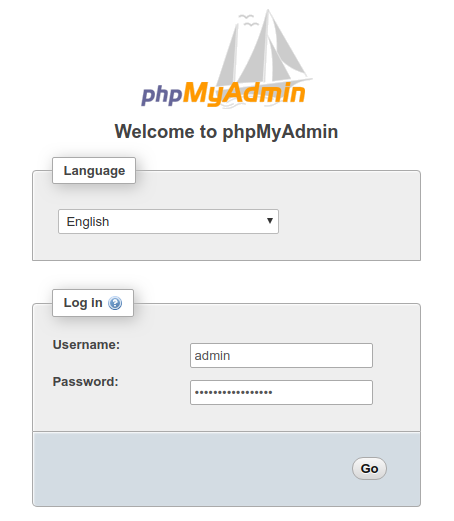
Log in as “admin” with the password you got earlier for “admin_mysql_pass”
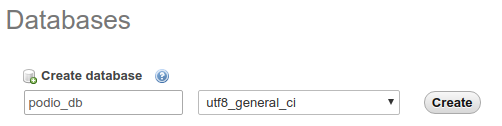
Once logged in, select “Databases” and create a new DB
From that database, select “Privileges”
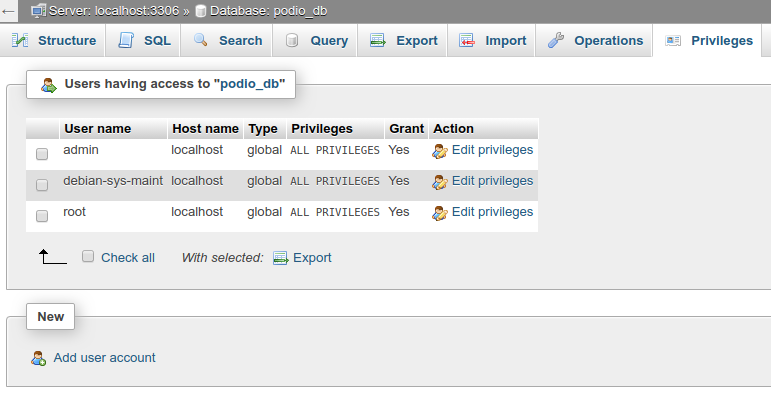
And click on “Add user account”
Give this user a username and a strong password (maybe use something like this password generator with a 32 character password length)
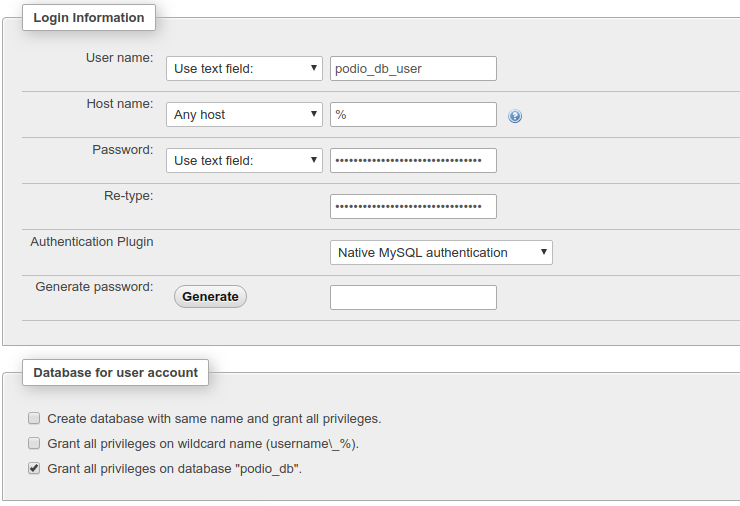
Make sure the Host name is set to “Any Host” (“%”) and that prvileges are set to grant all on the database you just created.
Add Databse to ProcFu
Now that you have a database, you need to connect it to your ProcFu account.
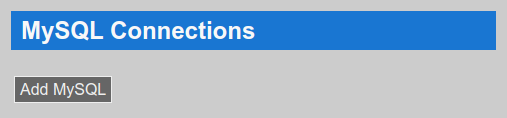
Go to the Configuration Page and click on the “Add MySQL” button in the MySQL section
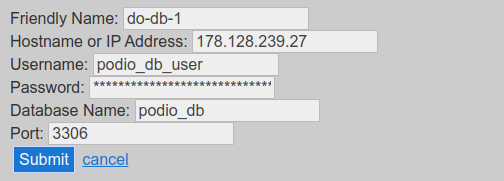
Enter the IP address of your droplet and the username, password and database name you created earlier and click on Submit
And that’s it. You’re now ready to start using MySQL from GlobiFlow.
Secure your Database
Even though we used a good password for the database, it's a good idea to firewall restrict access to as much as possible.
To be able to SSH into the server, we need to make sure SSH is allowed:
sudo ufw allow sshAnd then we need to allow only ProcFu servers access to MySQL (port 3306)
sudo ufw allow from 138.197.133.221 to any port 3306
sudo ufw allow from 138.197.136.158 to any port 3306
You can get the current IP addresses from the Configuration page in ProcFu where you added the MySQL connection.
You may also want to allow your own IP address, etc.
Once done, enable it with:
sudo ufw enableDo not close your current terminal window, and use another terminal window to log into your server again to ensure you didn't accidentally lock yourself out.
For more info on using UFW, see this great tutorial
 https://www.digitalocean.com/community/tutorials/ufw-essentials-common-firewall-rules-and-commands
I also highly recommend you install fail2ban. It's super easy and there's a great tutorial here:
 https://hostadvice.com/how-to/how-to-setup-fail2ban-on-your-ubuntu-18-04-vps-server-or-dedicated-server/