Setting up a MySQL Database
Huge data sets in Podio can slow down the system for everyone, and when you need to query your data, it’s really slow. On the other hand, you can get a managed MySQL service starting from $15/month and performing queries on your data there is nearly instant.
With a little help from ProcFu, you can work with your MySQL database using GlobiFlow in a super-simple way.
In this post, we’re going to show you the minimum steps to get a database for use within GF by utilizing Digital Ocean's Managed MySQL service.
Get a Database Server
If you don’t have a Digital Ocean account, get one at digitalocean.com:
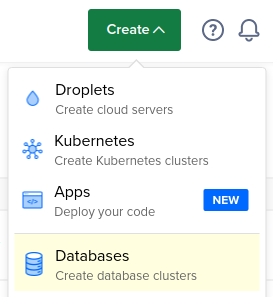
In your Digital Ocean account. click on "Create" and select "Databases".
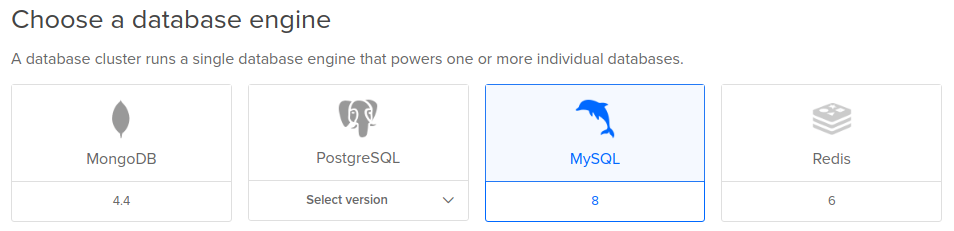
For the database engine, choose "MySQL".
And then choose your cluster configuration:
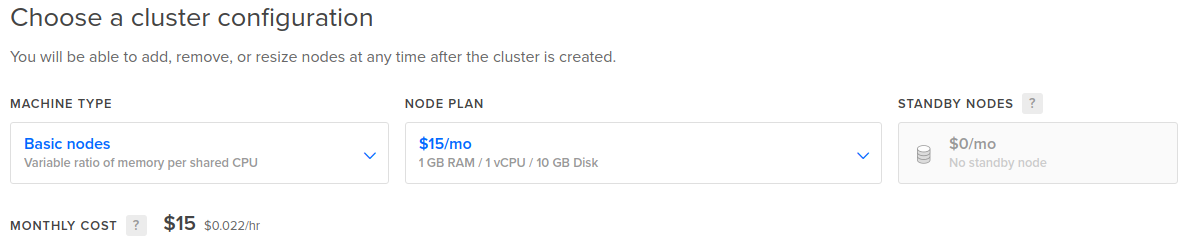
The default should work fine for most use cases. If you need more power, you can always upgrade later.
Next, choose your data center location.
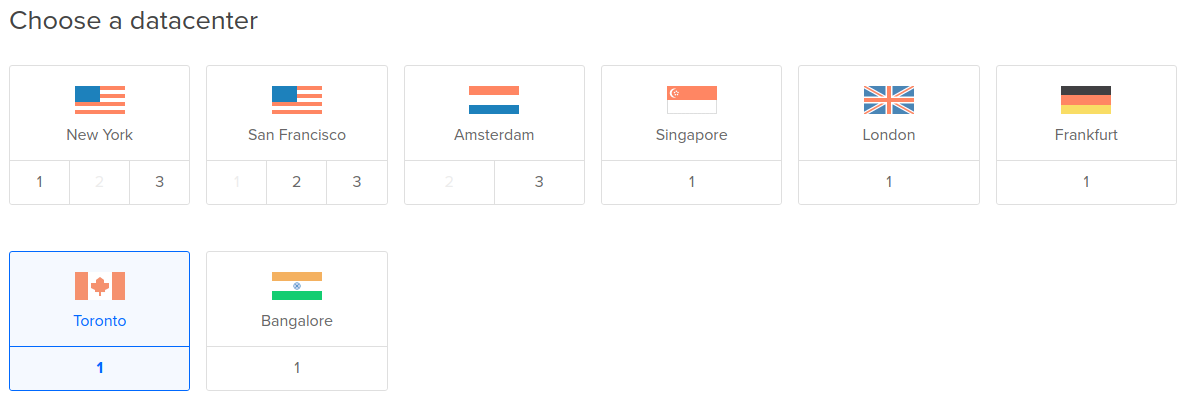
It's worth noting that Podio's servers are in Ireland and ProcFu's servers are in Canada. If you're going to be querying your data mostly from Podio, then London may be the best option. Of course you're free to choose any data center location you like - geographic latency should be hardly noticeable.
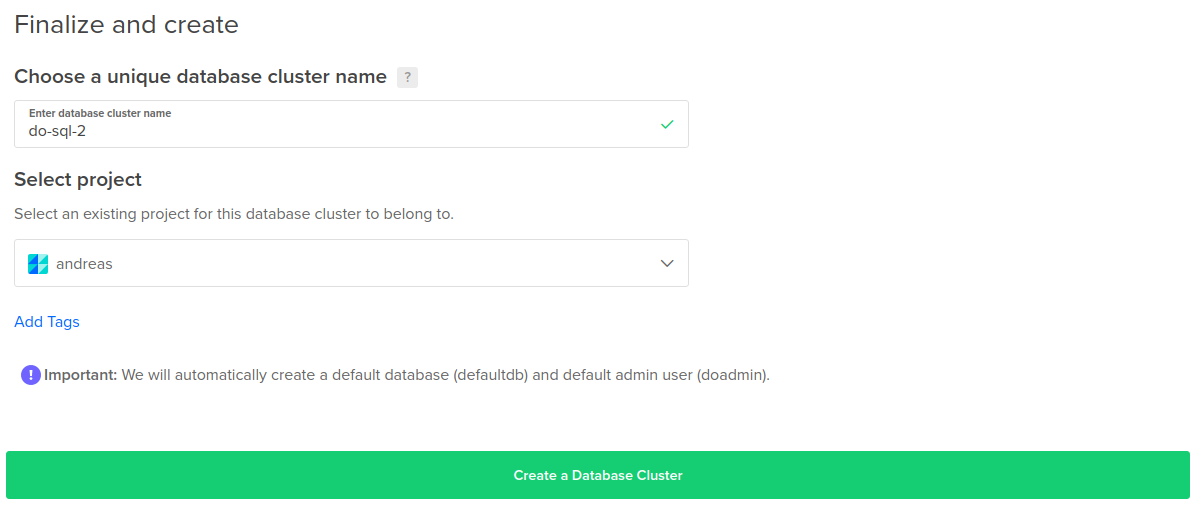
Lastly, name your cluster and click on "Create a Database Cluster".
Post-Create Steps
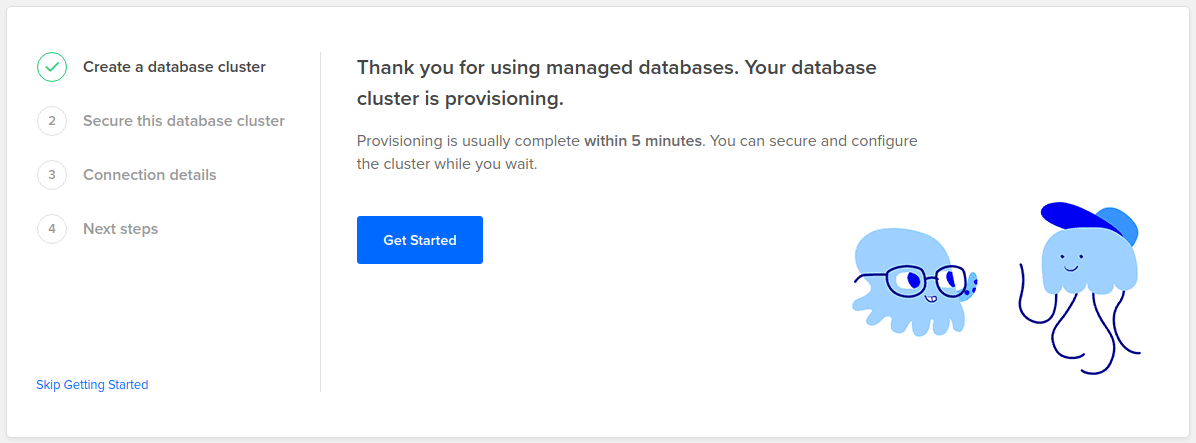
While your database is being created, you will be prompted to go through the new setup wizard.
Click on the "Skip Getting Started" link to bypass.
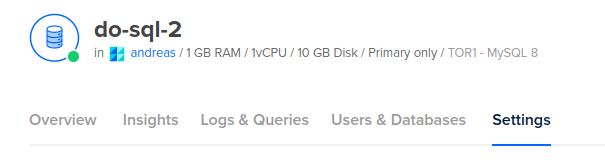
Next, select the "Settings" link at the top.
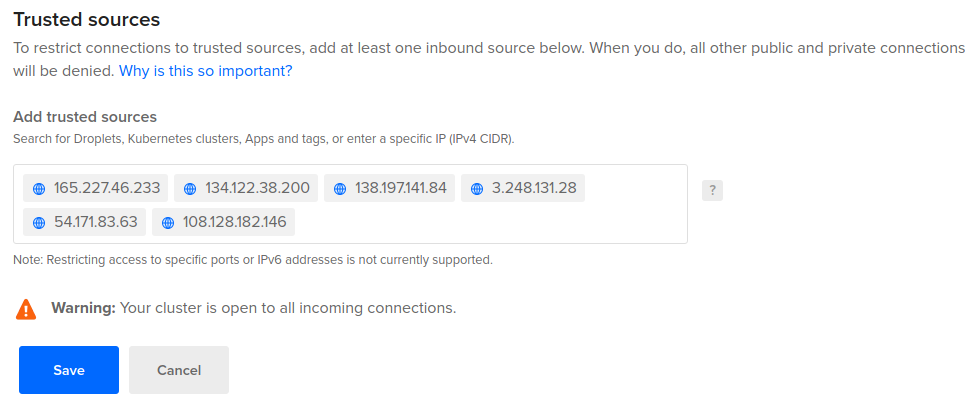
Scroll down to "Trusted Sources" and click on the "Edit" button.

It is very important to restrict access to your database. Here you will need to add the IP addresses of ProcFu and GlobiFlow:
- 165.227.46.233
- 134.122.38.200
- 138.197.141.84
- 3.248.131.28
- 54.171.83.63
- 108.128.182.146
Enter each of these addresses one at a time and click on "Save".
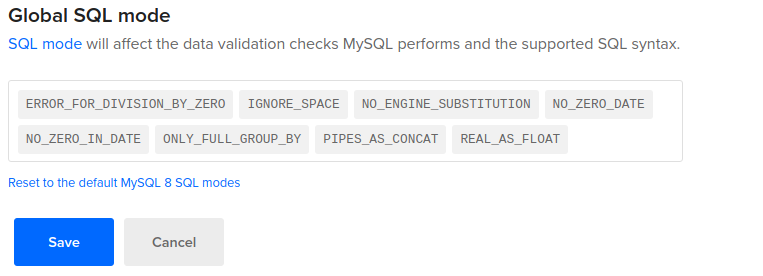
Next, scroll down to the "Global SQL Mode" section and click on the "Edit" button.

IMPORTANT: Remove the options "ANSI_QUOTES" and "STRICT_ALL_TABLES" and click on Save.
Create database and user
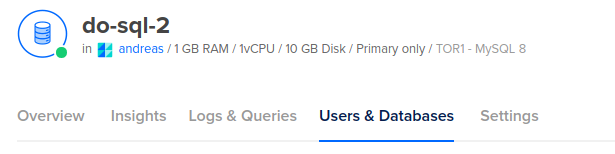
Select the "Users & Databases" option on top.
Under "Users", specify a new username to create (eg "podio_user"), choose "Legacy MySQL 5.x" for the encryption (very important), and click on "Save".
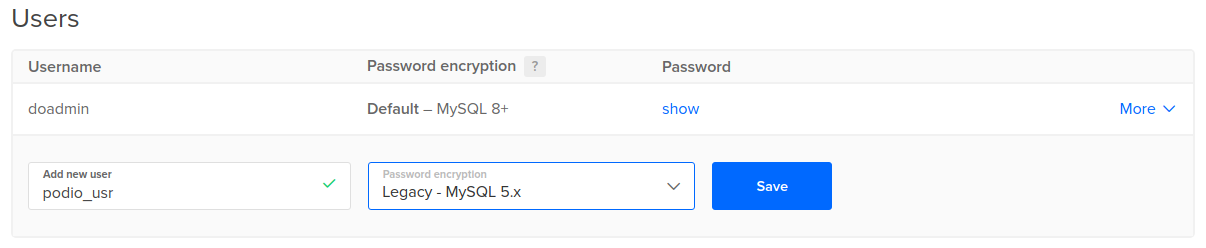
After creation, record the password as displayed on the screen. You'll definitely need this later.
Warning: If the password encryption still says MySQL 8 (I think this is a bug in the control panel), click on "More" and select "Edit password Encryption"
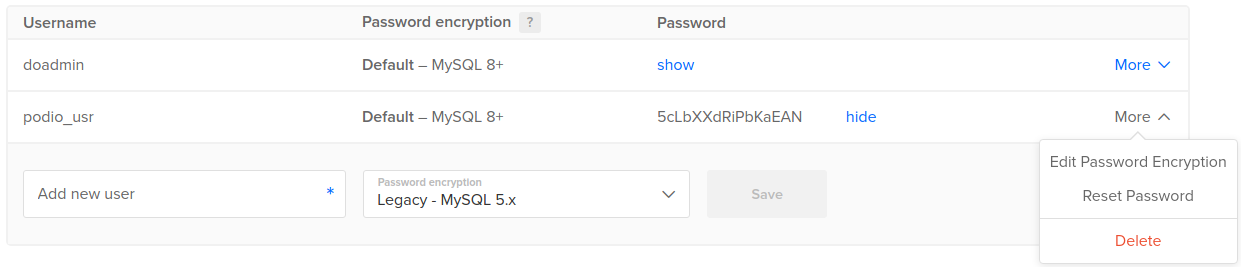
Then re-select "Legacy MySQL 5.x" and click "Save".
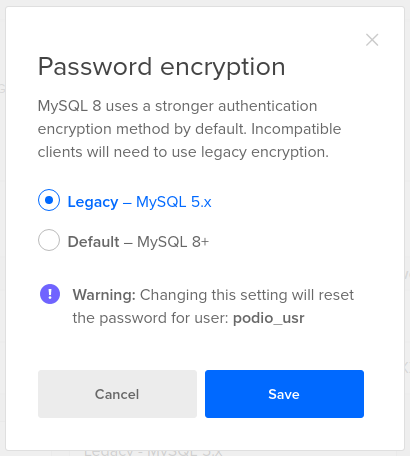
Note that the password will have changed, so grab the new password for later use.
Next, under "Databases", specify a new database name to create, and then click on "Save".

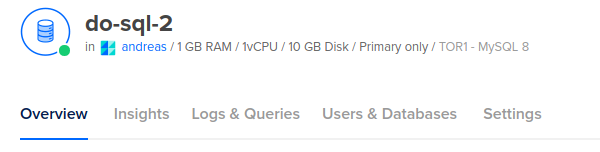
Lastly, select the "Overview" option on top.
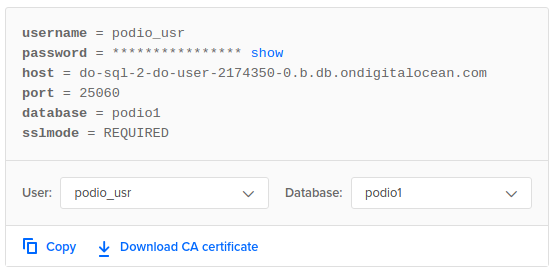
And on the right side, select the new database and user, and see the summary of connection details.
Add the Databse to ProcFu
Now that you have a database, you need to connect it to your ProcFu account.
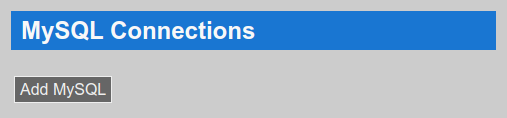
Go to the Configuration Page and click on the “Add MySQL” button in the MySQL section
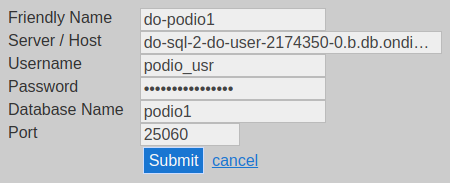
Give the connection a friendly name (for use in scripts) and enter the hostname, username, password and database name, and port, and click on Submit
And that’s it. You’re now ready to start using MySQL from GlobiFlow.
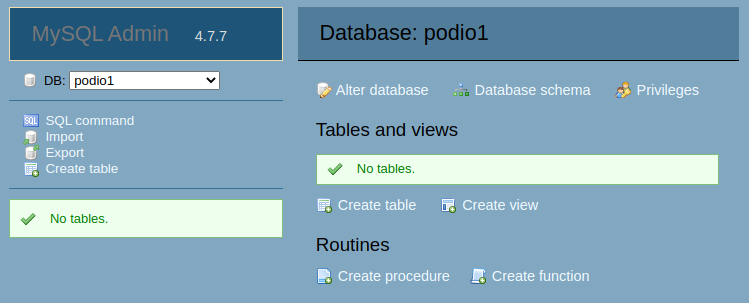
PS: You can click on the database name to explore it with Adminer.